Thursday, February 10, 2011

I hope Michelangelo doesn't mind...

We were gifted with a giant print of Michelangelo's "Creation of Man" as a housewarming gift back in 1999. Over the years, hanging near large windows, this painting faded to blue from the golden browns of its original. I knew I could repurpose the frame and the canvas into something useful. I always have loose photos leaning against framed images, candle holders, against books... basically anywhere I could prop them, so I could see the faces of my loves. Having used chicken wire for lots of other purposes over the years... besides confining chickens... I decided to construct a giant framed "bulletin board" to display all those snapshots.


The before...


After disassembling the painting, I sprayed the frame with a few layers of Krylon Interior/Exterior Paint in Black...


I used wire cutters to cut chicken wire to size and spray painted black...


I sanded the painted frame lightly to add that "I've lived and loved and have stories to tell" sort of feel...


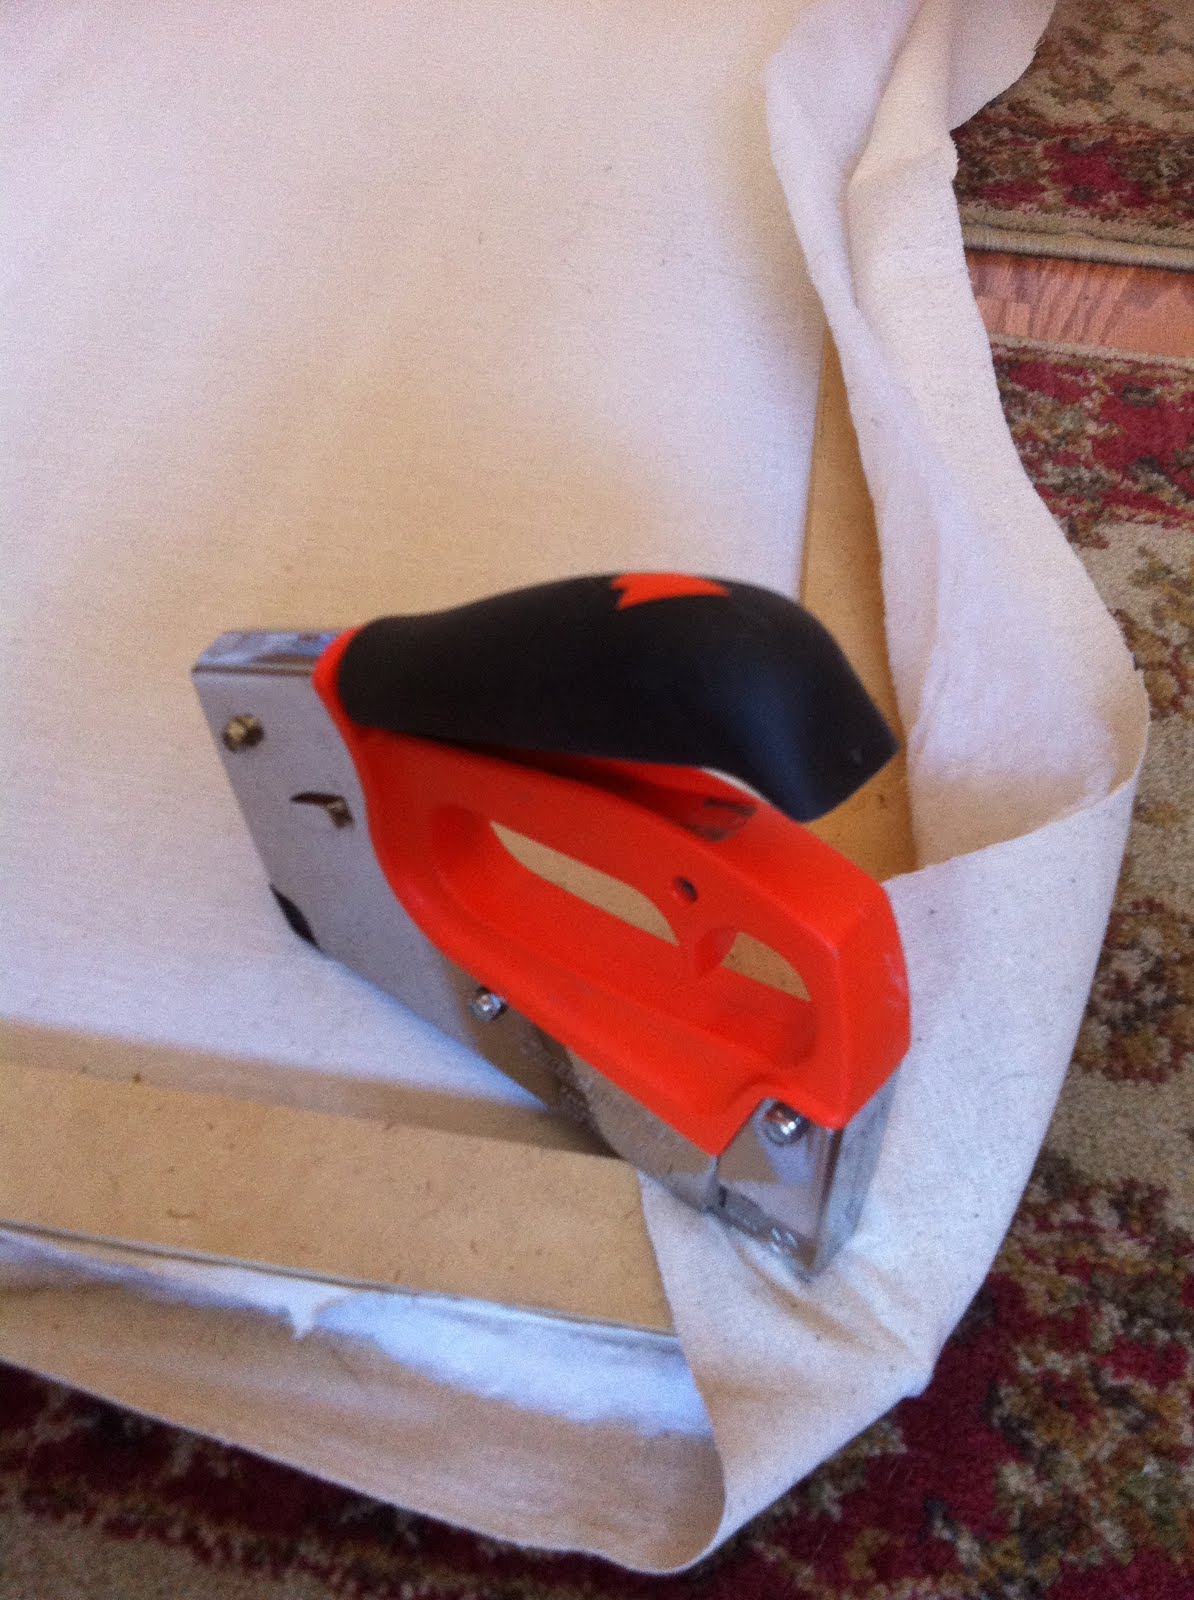
I covered the canvas with a thin layer of batting, then with natural linen; wrapped fabric to backside and secured with a staple gun. I laid painted chicken wire over front of covered canvas and strategically attached it with staples where they would be covered by edge of frame.


I placed canvas back into frame and secured with straps stapled across corners on backside. I used heavy wide ribbon.


Because of the narrow hallway, I couldn't seem to get a photo that did this project justice! I absolutely love having a special place to hang all those pictures of our favorite people! I can't seem to bring myself to taking down all the photo Christmas cards we received this year and our family is in serious "production" mode, so we have loads of adorable faces gracing this project!


To clip the photos in place, I use miniature clothes pins that I inked with Clearsnap Chalk Ink in Chestnut Roan then stamped with a french script stamp with black ink.

It's so much fun to give new life to something old!

Friday, January 28, 2011

Love Notes Nestled in an Altered Canvas

Here's a little something I whipped up for the Innovations Display at the Craft and Hobby Association Conference and Trade-show Winter 2011

A great company called Lineco, Inc. who sells awesome book binding supplies and kits, sent me some tools and materials to work with for this project and the demo I'm doing in the Craft Studio. I'm posting the basic instructions for this project, just incase you'd like to make one of these for yourself or for your valentine.

This innovative use of an artist canvas provides a clever display for a hand-bound book. The Japanese stab-bound book fits snugly in the center of this altered canvas.


Materials
• Artist Canvas: 6” x 8”
• Test tube
• Vintage book pages
• Soft Gel Medium: matte
• Dry flowers
• Decorative paper: heavy, doubled sided
• Text weight printer paper: 5-10 sheets
• Waxed linen thread: 1 yd (LinecoTM)
• Various rubber stamps and embellishments
• Chalk Inks: (ColorboxTM) in Chestnut Roan and
Warm Red

General Supplies
• Foam brush
• Craft knife
• Awl
• Ruler
• Paper cutter
• Binding needle (LinecoTM)
• Bone folder (LinecoTM)
• Strong adhesive

Instructions
1. Lay canvas upside down on cutting mat. Using sharp craft knife, cut an X through canvas from corner to corner on inside of frame. Fold canvas around inside of frame toward backside and adhere securely.
2. Using a foam brush and gel medium, apply pieces of book pages to completely cover canvas front and sides; allow to dry.
3. Ink edges of canvas and embellish with stamped images and words, as desired.
4. Embellish test tube by wrapping with a narrow strip of inked and stamped vintage text. Position tube on side of canvas securing with several wraps of waxed linen thread. Add embellishments to thread, if desired.
5. Cover backside of canvas with chipboard cut to size. Complete canvas opening by covering exposed chipboard with vintage text.
6. Insert dried flowers into test tube vase. The following instructions are for cutting the covers and pages needed for this project.

Making the Book
1. Measure inside of canvas frame to determine cutting sizes for book covers and pages.
Finished book will measure 1/4” narrower and shorter than opening in center of canvas.
2. Cut two covers from double-sided decorative paper using measurements in step 1 i.e. If opening is 3” x 5” then covers should measure 2 3/4” x 4 3/4.”
3. Cut 15-20 pages from text-weight paper. Cut pages the same width as cover and twice the length. Fold all pages in half and crease with bone folder. (Note: in Asian bindings, the folded pages are opposite the spine, The edges are left folded to strengthen the page.
4. Use an awl to pierce four holes through all pages and book covers, 1/2" from edge and equally spaced across end of book.
5. With binding needle and waxed linen thread stitch book together following the illustrations below.


(These binding instructions are copyrighted by Lineco, Inc. and used with permission for this project.)

Thursday, December 16, 2010

Sizzix Triple-Play Blog-Hop Week 7: Single Rose

Happy Holidays to ALL! Here we are 7 weeks later, with our final projects for the Sizzix Triple-Play Blog-Hop! With all the busyness of the holidays, I decided (well, needed) to keep this weeks entry very quick and easy! The great thing is that's possible when you're working with such well designed dies. This die comes with several bag topper size options and shapes ready for embellishing. You can slap a bit of paper and tie a ribbon and waalaa a handmade gift that looks very special! Simple as that!


I decided to look a bit into the future and think about Valentine's Day. We all know the sentimental meaning of a single rose, so I thought I'd create a simple gift bag to hold one dried rose. I also think this would be a great way to save a dried flower from a special wedding or other event. When my kids were still at home we often had roses tied upside down on cupboard door handles for drying. The girls couldn't simply put their old flowers in the compost barrel, no, they had to save them all! A simple see-thru bag with a topper and a note would have been a great way to organize their treasures. Now, why didn't I think of this before!


"Thanks for checking out the Triple Play Blog Hop! Please visit www.tripleplay.typepad.com for more fun ideas from Brenda Pinnick, Karen Burniston, Eileen Hull and friends. If you have enjoyed seeing all of the inspiring ideas on the blog hop, please "like" Triple Play on Facebook: http://www.facebook.com/#!/pages/Triple-Play/125068950891362. Happy Holidays!"

Thursday, December 9, 2010

Sizzix Triple-Play Blog-Hop Week 6: Gift Tags


I've been on vacation with my family for the last 2+ weeks. Knowing I'd be away from my studio for three weeks of the blog-hop I packed a very basic crafting kit, the die-cuts for the scheduled projects and a challenge for myself. The challenge was to not over-think my projects, complete them quickly and use the limited supplies I'd taken with me. It's been a good lesson for me. Trust my basic design instincts and just let it flow... and maybe I don't need ALL that "Stuff." Here's the result of Week 6; Brenda Pinnick's Sizzix Die (656053, Sizzix Bigz XL Die - Album, Brackets)

We were each sent a set of pre-cut die shapes to work with. I chose to use the largest of the shapes to create gift tags for the upcoming holiday.


What I used:
* Sizzix Bigz XL Die - Album, Brackets
* Vintage Text
* Color-box Chalk ink in Chestnut Roan
* Felt Snowflake from The Container Store
* Small hang tag
* Small jingle bell sprayed with Krylon Brushed Metallic
* Baker's Twine
* Stamps: snowflake, "To"
* Vintage Glass Glitter

What I did:
1. Trace shape of largest die-cut shape onto vintage text, cut out and glue to shape; ink edges with chalk ink
2. Apply glue along outside edges of shape; apply glitter to all edges
3. Tie felt snowflake to glittered shape at die-cut hole
4. Ink small hang-tag and stamp snowflake and the word "To"
5. Spray paint silver jingle-bell and dip in glitter while still wet
6. Tie tag and bell to snowflake with an 6" length of baker's twine
7. Write recipients name on tag and tie to package

I can hardly wait to see what the other 50+ designers have come up with using this great die from Sizzix! Hop along by clicking on the blinkie in the right side-bar.

Thanks for stopping by!

Cheers!
~Roxi